Showing posts with label dessert. Show all posts

Friday, June 23, 2023

Watermelon Cake made with fresh fruit, and gluten free!


Watermelon Cake

I saw this recipe at Allergic Living and love the way this looks! I am going to try this!
Gluten free, healthy and Yummy!


From Allergic Living

Ingredients for Watermelon Cake

  • 1 large seedless watermelon, washed and dried
  • 1 1/2 cups blueberries, washed and dried
  • 1 cup blackberries, washed and dried
  • 1 cup raspberries, washed and dried
  • 2 cups strawberries, washed and dried
  • cup seedless yellow watermelon, washed and dried, then cut into shapes
  • 1 cup grapes, washed and dried 

Instructions for Watermelon Cake

  1. Thoroughly wash the outer surface of the watermelon. This will prevent any exterior surface dirt or bacteria from being transferred into the inside of the watermelon when you cut into it. 
  2. Using a sharp chef’s knife, carefully cut off the top stem portion and bottom portion of the watermelon. Set aside for later use or discard. Place the remaining center portion of the watermelon upright, so it stands flat on your cutting surface. The watermelon cake shown was approximately 7 inches tall when standing upright. But your watermelon may be shorter or taller, depending on the size of your party. Level out any uneven areas, until you are left with a flat base and top.  
  3. It’s time to remove the rind. With the watermelon still standing upright on your cutting board, begin cutting the outer rind from top to bottom. Follow the natural shape of the watermelon, until all the rind has been removed. Note: You may have to flip the watermelon upside down to trim any visible rind off the bottom section.
  4. Trimming: With its signature pinkish/reddish hue now showing, carefully trim any uneven areas of the outer surface. You’re looking to have a smooth, round and cake-shaped watermelon.
  5. Next, cut a circular well into the top of the watermelon by cutting 1 inch from the edge, and approximately 1-2 inches deep. Use a teaspoon or dinner spoon to scoop out the watermelon, absorbing the excess juice with paper towel. This round opening is where your decorative fruit will go. 
  6. Place the watermelon on the center of your serving platter or dish. Choose a sturdy dish, since a full-size watermelon cake is going to be heavy.
  7. Decorate the cake with clean fresh fruits (or your own favorite choices). Place a variety of fruits around the base of the cake and inside the top circle. Use contrasting fruit colors to enhance visual appeal. For a more creative flair, use a melon baller or fruit shape cutters. 
  8. Refrigerate until chilled or serve immediately. Enjoy! 

Monday, November 7, 2022

Apple Cider Donut Muffins


I first made these in 2013,  but they continue to be a hit!


mix together the wet ingredients:

1 cup apple cider
1 large egg
3 tablespoons melted butter
1 teaspoon vanilla


In another bowl, whisk together:
2 cups King Arthur gluten free 1:1 flour
1/2 cup brown sugar
1 teaspoon baking powder
1/2 teaspoon baking soda
1/2 teaspoon salt 

1/2 tsp cinnamon

4tsp. apple pie spice

1/4 c. crushed hazel nuts (or other nuts)


Gently mix both ingredient bowls together-by hand

and very lightly-just until combined.


Place in muffin pan with liners. Makes 12


bake at 350 degrees for about 15 min.


Melt about 1.2 c. butter in a bowl 

& about 1/2 c. of sugar-adjust to your own taste

(you can also add cinnamon or other spices to sugar)

When muffins are out of the oven and still hot, dip

tops in melted butter and then in the sugar.


So yummy!


Tuesday, November 12, 2019

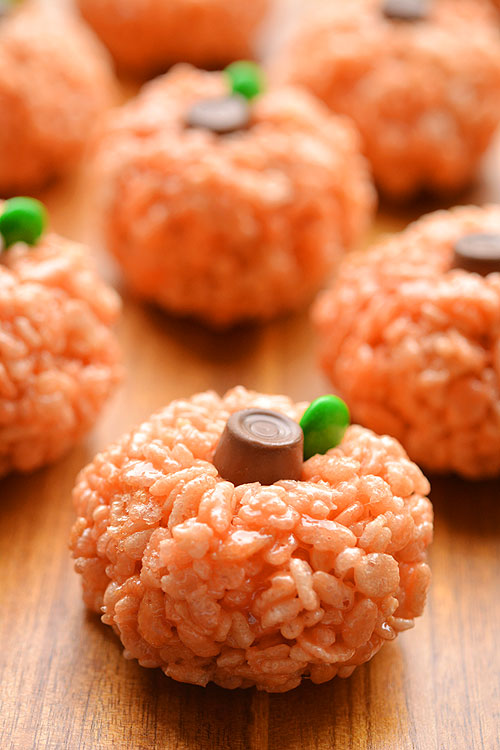
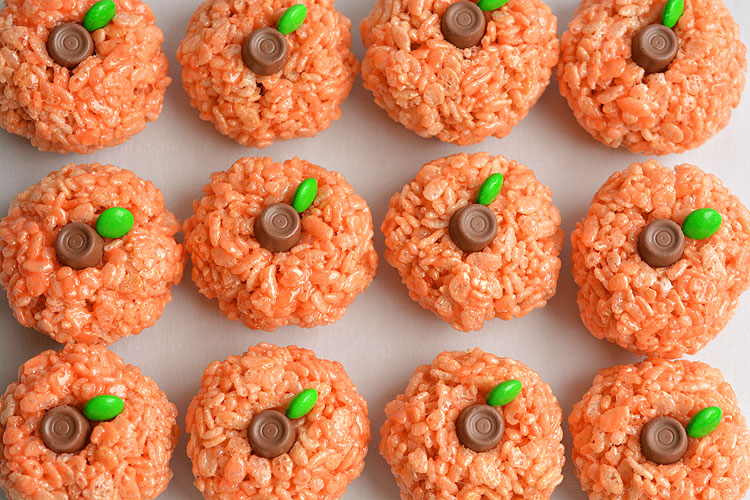
Rice Krispie Treat Pumpkins Perfect for Thanksgiving, or for kid's school fall parties!


Rice Krispie Treat Pumpkins
 

Serves:12
Prep time:
Total time:


Ingredients
  • ¼ cup butter
  • 1 bag large marshmallows (approximately 40 marshmallows)
  • 6 cups Rice Krispies
  • Red & Yellow Liquid Food Coloring
  • Mini Rolos
  • Green M&M's
  • ¼ cup cooking oil or melted butter in a small bowl (to keep it from sticking to your hands)  (Or use gloves, see NOTE below)
Instructions
  1. In a large pot, melt the butter over low heat.
  2. Add the marshmallows and stir until completely melted and combined with the butter.
  3. Remove from the heat. Add several drops of yellow food coloring, mix it together, then add red food coloring one drop at a time, mixing as you go. Add red/yellow drops until you reach your desired color. (I used about 4 drops red and 12 drops yellow). Mix well.
  4. Add the Rice Krispies and stir to combine.
  5. Coat both sides of your hands with a generous amount of cooking oil or butter, and roll the Rice Krispie mixture into small balls. Set on parchment paper. Add oil/butter to your hands after each ball.
  6. While the balls are still warm, gently press a Mini Rolo into the top of each pumpkin for the stem and add a green M&M beside it as the leaf. (Tip: If the pumpkins cool before you're finished, use the end of a thick marker or apple corer to make a small indent in the top for the chocolate to sit in.)
  7. Allow to cool until firm.
Notes
You may want to use food handling gloves to keep the mixture from sticking to your hands! 

These rice krispie treat pumpkins are ADORABLE and they're really easy to make! They'd be perfect for a Halloween party snack, or even Thanksgiving!

Sunday, November 10, 2019

Cherry Delight Recipe-Great for Thanksgiving!


Cherry Delight Recipe

Simple refreshing no-bake dessert. Pineapple fluff is sandwiched between a graham cracker crust and cherry pie filling. Other pie fillings also work with this recipe.Cherry Delight in 9 X 13 glass panCREDIT
 CourseDesserts
 CuisineAmerican
 KeywordCherry dessert, dessert with cherry pie filling, Pineapple dessert
 Prep Time10 minutes
 Cook Time10 minutes
 Refrigeration Time4 hours
 Total Time4 hours 20 minutes
 Servings12 Servings
 AuthorBeth Mueller

Equipment

Ingredients

  • 2 cups Graham Cracker Crumbs about 16 full graham crackers finely crushed
  • 1 stick Butter melted
  • 1 tablespoon Sugar
  • 8 ounces Cream Cheese softened
  • 1 cup Powdered Sugar
  • 1 20- ounce can Crushed Pineapple in juice drained
  • 2 cups non-dairy topping thawed
  • 2 21- ounce cans Cherry Pie Filling

Instructions

  • Mix graham cracker crumbs*, sugar, and butter. Pat into the bottom of 9 X 13 cake pan. Bake in 375 degree F oven for 7 to 10 minutes, until lightly browned around the edges.
  • Let cool.
  • Mix cream cheese until smooth, add powdered sugar. Mix in pineapple. Fold in the non-dairy topping. Spread over graham cracker crust.
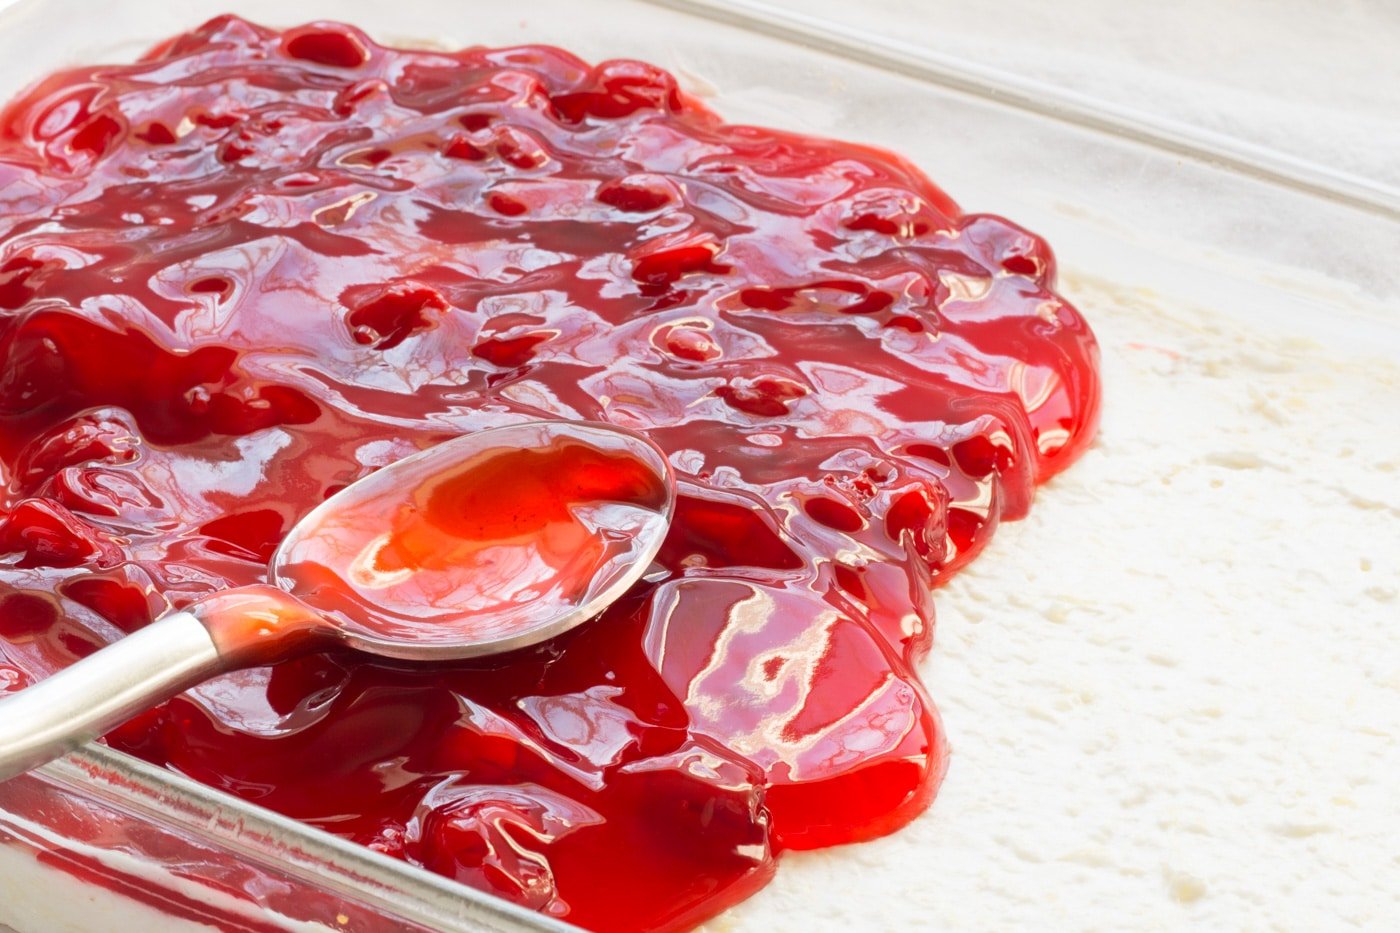
  • Gently pour and spread cherry pie filling over the top. Refrigerate at least 4 hours.
*
  • If you need to make your own graham cracker crumbs, you will need about 2 sleeves of graham cracker sheets. Crush them in a food processor or in a baggie using a rolling pin.  You might be a few tablespoons short or over, but it will be fine.  Unlike a standard pie crust, a graham cracker crust is a bit more forgiving.
Cherry pie filling being spooned onto cherry delight pineapple cream cheese base in a white baking dish

Notes

  • Baking the graham cracker crust is optional but gives the crust a toastier flavor.
  • Vanilla wafers or shortbread cookie crumbs can be used instead of graham cracker crumbs.
  • Can be made in 2 8-inch X 8-inch pans, or two premade graham cracker or shortbread pie crusts.
  • 2 cups of Dream Whip or homemade whipped cream can be used in place of whipped topping.
  • Other pie fillings may be used as a substitute for cherry.  Try Blueberry for a blueberry delight.
  • Total time provided includes 4 hour refrigeration time.

Saturday, July 20, 2019

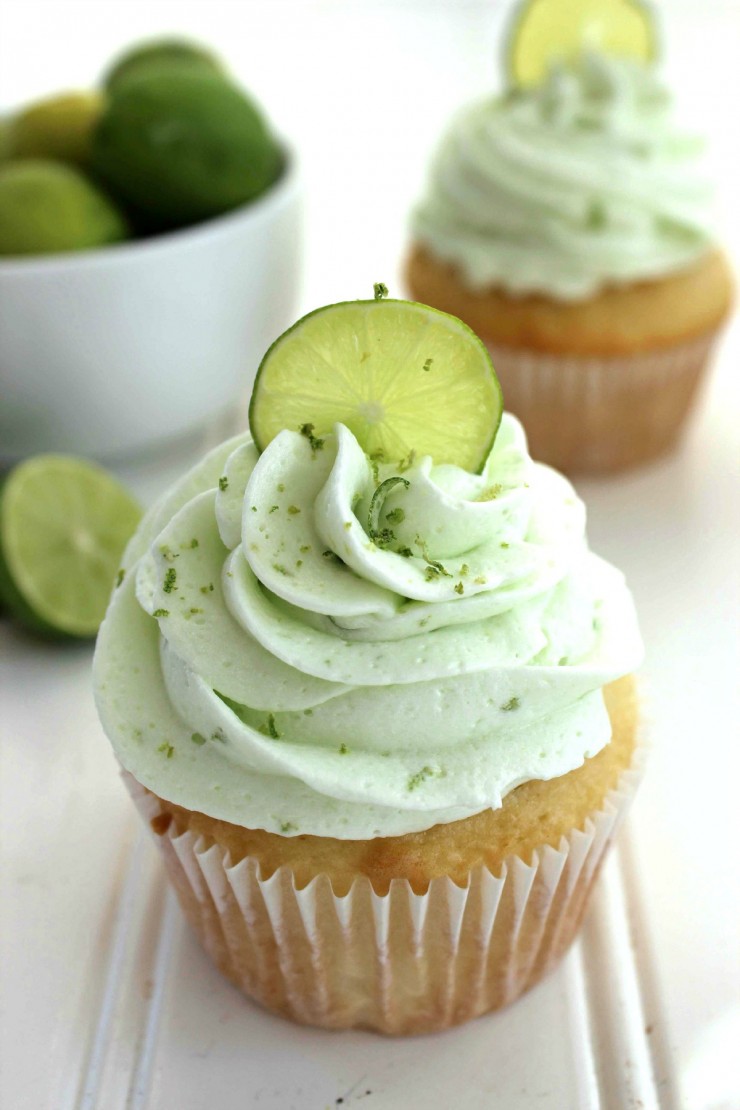
Key Lime Cupcakes

Key Lime Cupcakes


Ingredients
Cake:
  • 1 box White Cake Mix +box ingredients
  • ½ cup Lime Juice
  • Frosting:
  • 1 cup Butter
  • 6 cup Powdered Sugar
  • 6 tbsp Lime Juice
  • 2 tsp Lime Zest
  • 1 drop Green Food Colouring
Instructions
  1. Make batter according to box EXCEPT replace ½ cup of water with ½ cup lime juice.
  2. Fill liners about ½ full.
  3. Bake 16-18 minutes or until toothpick inserted in middle comes out clean.
  4. Allow to cool completely on wire rack.
  5. Cream butter in a large bowl.
  6. Add lime juice and food colouring.
  7. Add powdered sugar 1 cup at a time and beat until incorporated.
  8. Add lime zest and whip until distributed.
  9. Transfer to piping bag to frost cupcakes.

Thursday, July 18, 2019

Classic Pecan Pie Bars


Classic Pecan Pie Bars


Classic Pecan Pie Bars
Credit


Ingredients
  • CRUST
  • 1 3/4 cups all-purpose flour
  • 3/4 cup Butter, softened
  • 1/3 cup sugar
  • 1/3 cup coarsely chopped pecans
FILLING
  • 2/3 cup firmly packed brown sugar
  • 6 tablespoons all-purpose flour
  • 1 teaspoon salt
  • 1 1/2 cups dark corn syrup
  • 4 large Eggs
  • 2 teaspoons vanilla extract
  • 1 1/2 cups coarsely chopped pecans

  1. STEP 1
    Heat oven to 350°F.
  2. STEP 2
    Combine 1 3/4 cups flour, butter and sugar in bowl. Beat at medium speed, scraping bowl often, until mixture resembles coarse crumbs. Stir in 1/3 cup pecans.
  3. STEP 3
    Press crust mixture evenly onto bottom of ungreased 13x9-inch baking pan. Bake 18-22 minutes or until edges are very light golden brown.
  4. STEP 4
    Combine brown sugar, 6 tablespoons flour, and salt in large bowl; whisk until mixed. Add corn syrup, eggs, and vanilla; mix well. Stir in 1 1/2 cups chopped pecans. Spread evenly over hot, partially baked crust. Bake 30-35 minutes or until filling is set and knife inserted 1-inch from edge comes out clean.
  5. STEP 5
    Cool completely. Refrigerate 30 minutes. Cut into bars.

Wednesday, June 26, 2019

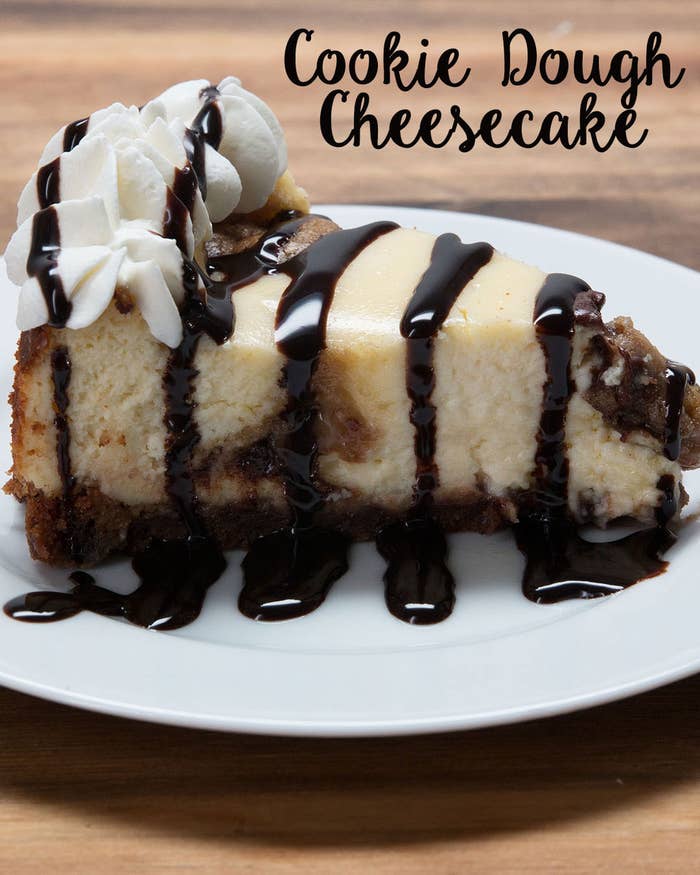
Cookie Dough Cheesecake One of the top desserts on Pinterest!


Cookie Dough Cheesecake


Here's what you will need:

* 1 package pre-made cookie dough *optional* extra for topping
* 3 8-oz packages of cream cheese, softened
* 1 cup granulated sugar
* 1 cup sour cream
* 1/2 tsp vanilla extract
* 3 eggs

Directions:

Preheat oven to 350°F/180°C. Press a package of pre-made cookie dough into a springform pan. In a bowl, mix the cream cheese and sugar until fluffy. Add sour cream and vanilla and mix. Add the eggs, one at a time, mixing thoroughly after each one. Pour into springform pan. *Optional* drop half teaspoonfuls of cookie dough on top of the cheesecake batter. Bake for one hour, cool completely, then refrigerate overnight.

**Not Gluten Free

Friday, June 21, 2019

The Most Popular Brownie Recipe on Pinterest! Salted Caramel Brownies

Salted Caramel Brownies are easier than you think to make and are so delicious. These are THE BEST!
credit

Salted Caramel Brownies

Fudgy brownies studded with chocolate chips and topped with caramel and a sprinkling of sea salt.

INGREDIENTS:

1 cup butter
4 ounces semi-sweet chocolate
2 cups sugar
4 eggs
1 1/2 cups flour
1/3 cup cocoa powder
1/2 tsp salt
1/2 cup semi-sweet chocolate chips
approximately 10 ounces caramel sauce
coarse sea salt

DIRECTIONS:


Preheat to 350ºF. Lightly grease a 9x9 baking dish.
Melt together the butter and the semi sweet chocolate. Let cool slightly.
Stir in the sugar and the eggs. Mix in the flour, cocoa powder, and salt. Fold in the chocolate chips.
Spread the batter in the prepared baking dish. Bake for 30-35 minutes until a toothpick inserted comes out mostly clean.
Let cool completely before topping with caramel sauce and sprinkling with sea salt.

Salted Caramel Brownies are easier than you think to make and are so delicious. These are THE BEST!Salted Caramel Brownies are easier than you think to make and are so delicious. These are THE BEST!